Imagine whipping up a perfectly ground spice mix, tender meat patties, or even creamy nut butter with one powerful tool in your kitchen. A kitchen grinder machine can transform your cooking game if you know how to use it correctly.
Whether you’re a home cook or a budding chef, understanding how to operate and maximize your kitchen grinder is essential for efficiency, safety, and mouthwatering results.
What You’ll Learn:
In this guide, we’ll walk you through the different types of the best kitchen grinders and how to use them step-by-step. We will also share tips for cleaning and creative uses. By the end, you’ll feel confident using this versatile machine for everyday cooking.
Types of Kitchen Grinder Machines
Grinders come in several types, each designed for specific tasks. Here’s a breakdown of the most common types:
Mixer Grinders:
- What They Do: Mixer grinders are multitasking tools used for blending, grinding, and mixing.
- Best For: Making spice powders, batters, or purees.
- Example: Preparing dosa batter by grinding soaked rice and lentils effortlessly with a mixer grinder.
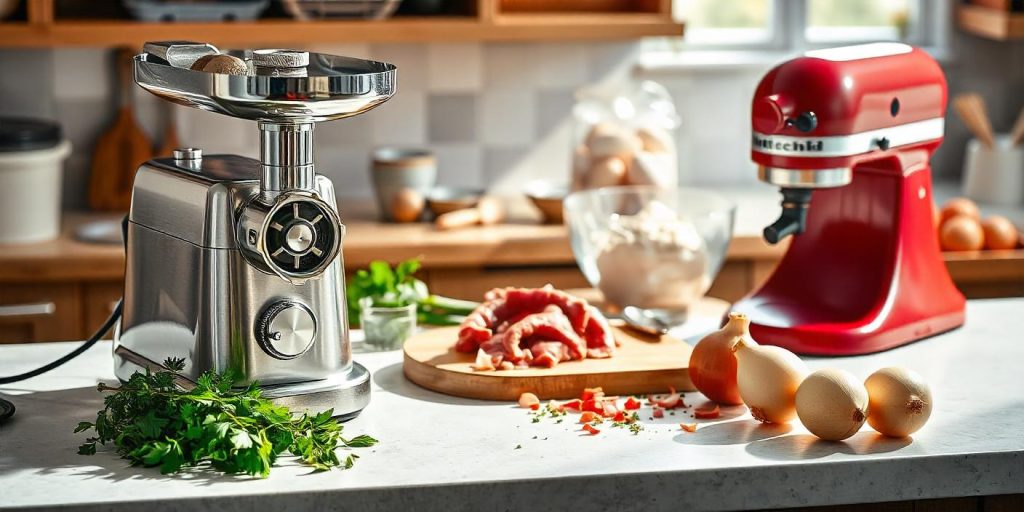
Meat Kitchen Grinders:
- What They Do: These grinders are ideal for processing raw meats into ground meat for various recipes.
- Best For: Creating sausages, burger patties, or meat fillings.
- Example: Grinding chilled pork shoulder to make homemade sausages with a spice mix.
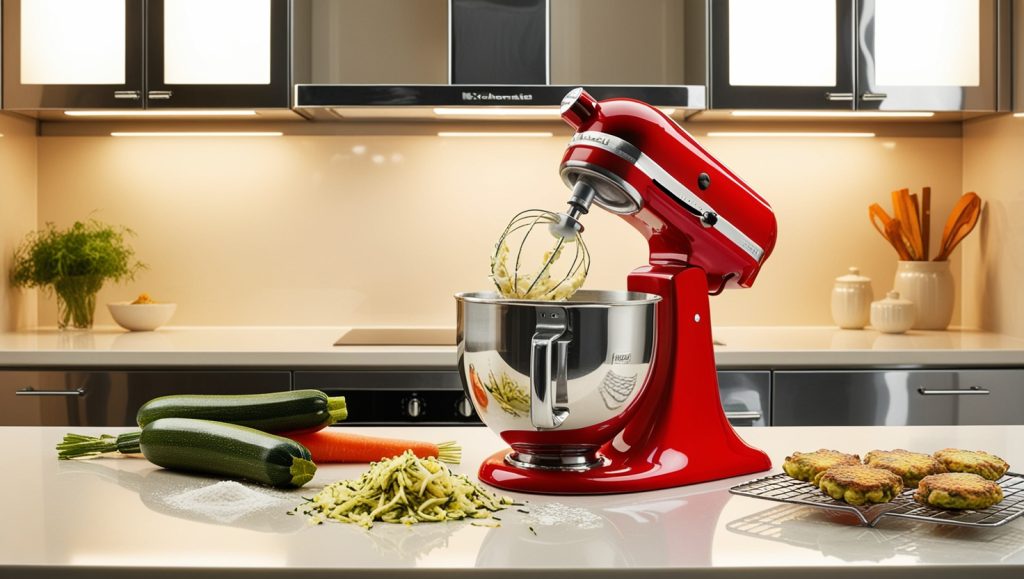
Stand Mixer Food Grinder Attachments:
- What They Do: These attachments extend the functionality of stand mixers to include grinding.
- Best For: Tasks like grinding meat, shredding vegetables, or making pasta dough.
- Example: Grinding zucchini for fritters using a KitchenAid stand mixer attachment.
Components and Accessories
Understanding your grinder’s components ensures you use it efficiently and avoid damage.
Standard Parts:
- Grinding Blades: These are responsible for the texture and consistency of your grind. Some grinders include specialized blades for ingredients like dry spices or wet pastes.
- Jars or Bowls: These hold the ingredients during grinding. Look for sturdy, BPA-free materials for safety.
- Motor Unit: The powerhouse of your grinder. Ensure it’s kept dry and away from overheating for longevity.
Popular Accessories of meat Kitchen Grinder:
- Feed Tubes: Allow consistent ingredient flow into the grinding chamber, especially for meat grinders.
- Attachment Kits: To add versatility, many grinders come with additional attachments, such as dough kneaders or juicers.
- Cleaning Tools: Brushes or scrapers that make post-use cleanup easy.
Real-World Tip of electric grinder:
If you’re grinding nuts for nut butter, ensure the jar is completely dry to avoid clumping or uneven grinding.
Step-by-Step Guide to Using a Kitchen Grinder machine
Using a kitchen grinder doesn’t have to be intimidating. Follow all the above steps to ensure optimal performance and safety:
Step 1: Preparation
- Choose the Right Grinder for the Job: Select a mixer grinder for blending or a meat grinder for mincing. Ensure the grinder is clean and free from residues from previous use.
- Prep Your Ingredients: Cut ingredients into manageable sizes. For example:
- Meat: Trim fat and cut into 1-inch chunks.
- Spices: Toast lightly for maximum flavor before grinding.
- Check Your Grinder Settings: If your machine has adjustable speed or blade options, select the appropriate settings for your task.
Real Example of multi grinder:
Soak both rice and lentils separately for 4-6 hours when preparing dosa batter. Drain and add them to the mixer grinder in batches, blending to a smooth paste with just enough water.
Step 2: Operation
- Assemble Your Grinder Properly: Secure all components, including jars, blades, and lids. Double-check that everything is locked in place.
- Start Slow: Begin with a lower speed setting to avoid splattering or overworking the motor. Gradually increase speed as needed.
- Feed Ingredients Safely: Use a food pusher (if available) instead of your hands to guide food through the grinder.
- Monitor Progress: Pause occasionally to check consistency and prevent overheating.
Real Example:
While grinding spices like cumin or coriander, pulse the grinder instead of running it continuously. This prevents overheating and retains the natural oils in the spices.
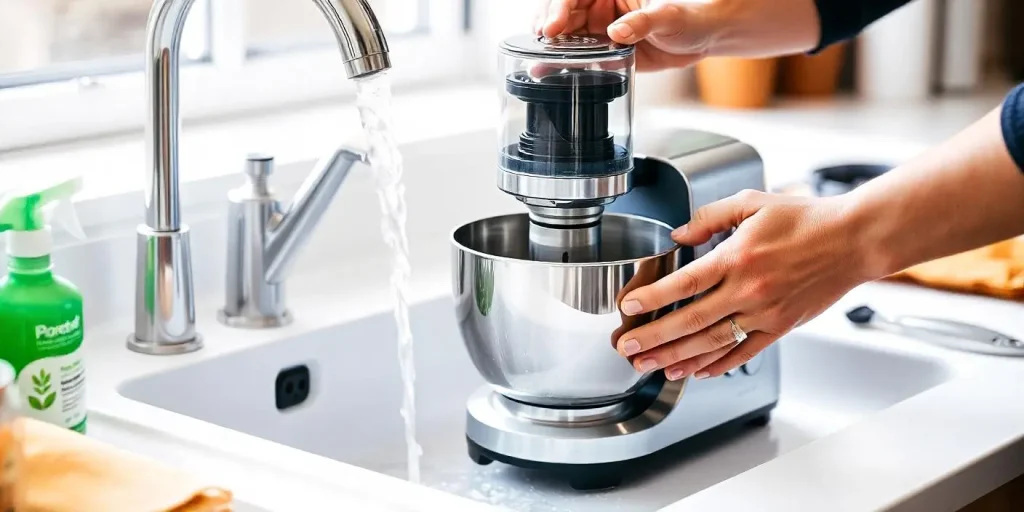
Step 3: Post-Use
- Unplug the Machine: Always disconnect the machine from the power source before cleaning.
- Clean Thoroughly: Disassemble the parts and wash them with warm, soapy water. Use a brush to clean sharp edges like blades.
- Dry Completely: Moisture can lead to rusting or damage, especially for metal parts like the blades.
Most grinders come with a detailed user manual—refer to it for specific cleaning instructions. Using the recommended cleaning methods can significantly extend your grinder’s lifespan.
Feeling inspired? Grab your ingredients and start experimenting with your kitchen grinder today! With these steps, you’re just a few spins away from creating restaurant-quality meals at home.
Safety Precautions of portable kitchen grinder
Using a kitchen grinder safely is crucial to prevent accidents or damage. Here are some essential tips to keep in mind:
General Safety Tips:
- Secure the Grinder: Ensure the grinder is placed on a flat, stable surface before use.
- Keep Hands Clear: Always use the grinder’s provided tools (e.g., pushers) to guide food.
- Avoid Overloading: Processing too much at once can strain the motor or lead to uneven results.
Ingredient-Specific Safety Tips:
- Meat Grinders: Always chill the meat before grinding. Warm meat can clog the blades and affect the texture.
- Spices: Use a dry grinder jar to avoid moisture-induced clumping.
- Hot Foods: Let ingredients cool before grinding to prevent damaging the machine’s components.
Maintenance-Related Safety:
- Unplug Before Cleaning: Always disconnect from power to prevent accidental activation.
- Inspect for Wear and Tear: Before use, regularly check for dull blades or loose components. Replace as needed.
- Avoid Water Near Motors: Wipe motor units with a damp cloth, but do not submerge them.
Real Example:
A user tried grinding warm chicken in their meat grinder without chilling it first, resulting in blade jams and uneven meat texture. Chilling the chicken beforehand would have avoided this issue.
Safety first! Follow these precautions to enjoy seamless and safe grinding sessions, whether preparing spices, batters, or ground meat.
Creative Uses of Kitchen Grinder
Kitchen grinders are incredibly versatile tools that handle more than everyday grinding tasks. Here are some creative ways to use your grinder for exciting culinary projects:
Homemade Sausages
- How It Works: Use a meat grinder with a sausage-stuffing attachment to create personalized sausages. Mix ground meat with spices, herbs, and fillers like breadcrumbs or rice.
- Real Example: Combine ground pork with garlic, fennel seeds, and paprika to craft flavorful Italian sausages.
Nut Butter kitchen grinder
- How It Works: Process nuts like almonds, peanuts, or cashews in a grinder to achieve creamy or chunky spreads. Add oil or honey for desired consistency.
- Pro Tip: Use the pulse function to avoid overheating the motor or the nuts.
Real Example: Almond butter made at home in a mixer grinder is fresher and more affordable than store-bought.
Vegetable kitchen grinder
- How It Works: Grind vegetables like carrots, zucchini, or cauliflower to prepare bases for cakes, veggie patties, or low-carb rice alternatives.
- Real Example: Create cauliflower rice by pulsing cauliflower florets in a grinder for a quick, keto-friendly side dish.
Bread Crumbs and Cracker Crusts with kitchen grinder
- How It Works: Repurpose stale bread or crackers by grinding them into crumbs for coating or topping dishes.
- Pro Tip: Toast the bread slightly before grinding for a finer texture.
Real Example: Use freshly ground breadcrumbs to coat chicken fillets for a golden, crispy texture.
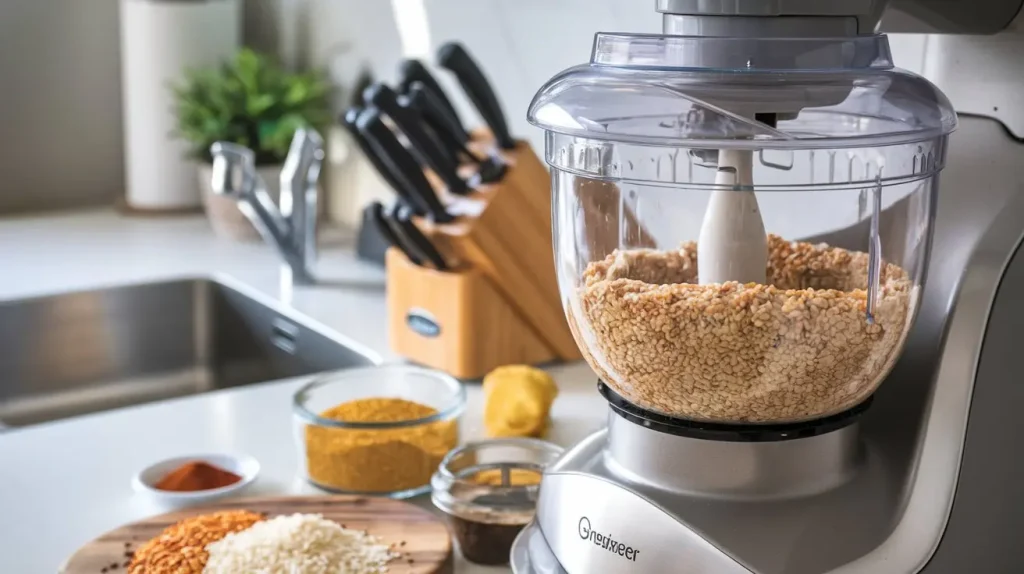
Grinding Spices for Fresh Flavors
- How It Works: Grind spices like cinnamon, cumin, or peppercorns for maximum flavor and aroma. Use a dedicated dry jar to avoid contamination.
- Real Example: Grind whole cumin seeds into powder for a fresher, more aromatic curry base than pre-ground options.
Ready to get creative? Experiment with these ideas to unlock the full potential of your kitchen grinder. The possibilities are endless—let your culinary imagination run wild!
Maintenance and Troubleshooting
Proper maintenance keeps your kitchen grinder functioning like new and ensures a safe cooking experience.
Daily Cleaning Routines:
- Disassemble After Use: Take apart the jars, blades, and attachments for thorough cleaning.
- Wash with Mild Detergent: Use warm, soapy water for jars and blades. Avoid unpleasant chemicals that might damage the materials.
- Dry Thoroughly: Moisture can lead to rusting of metal components. Let all parts air-dry before reassembling.
Real Example:
Cleaning the grinder immediately prevents odors and staining if you’re grinding garlic or onions.
Common Issues and Solutions of kitchen grinder:
- Overheating Motor:
- Cause: Overloading or running the grinder for extended periods.
- Fix: Operate in shorter bursts and let the motor rest between uses.
- Dull Blades:
- Cause: Frequent use without sharpening.
- Fix: Replace blades or sharpen them periodically.
- Jamming or Blockage:
- Cause: Tough or oversized ingredients.
- Fix: Cut ingredients into smaller pieces and avoid overstuffing.
Most manufacturers offer replacement parts or service centers for troubleshooting. Check your grinder’s warranty for details.
Tips for Longevity:
- Avoid Wet Grinding in Dry Jars: Mixing water with dry ingredients can damage the motor.
- Use Grinder-Safe Ingredients: Only attempt to grind hard items like bones or frozen foods if the grinder is designed for it.
- Store Properly: Keep your grinder covered or stored in a cool, dry place to prevent dust accumulation.
Follow these maintenance tips for years of seamless performance!
Conclusion
A kitchen grinder machine isn’t just another appliance—it’s a gateway to culinary creativity and efficiency. From grinding spices to preparing homemade sausages, this versatile tool empowers you to experiment with fresh, flavorful dishes in your kitchen.
Key Takeaways:
- Understanding the types of kitchen grinders helps you choose the right one for your needs.
- Proper usage, safety precautions, and creative techniques maximize your grinder’s potential.
- Regular maintenance and troubleshooting ensure long-term, hassle-free operation.
Whether you’re whipping up a quick family meal or exploring gourmet recipes, mastering your kitchen grinder can transform your cooking experience.
Now it’s your turn! Dive into your culinary projects confidently and let your kitchen grinder unlock a world of possibilities. Have questions? Drop them in the comments below!
Frequently Asked Questions (FAQs)
Q1: Can I grind bones in my kitchen grinder machine?
- Answer: Most standard grinders are not designed for grinding bones. However, specific heavy-duty grinders, like meat grinders with stainless steel blades, may handle small, soft bones. Always check the manufacturer’s guidelines.
Q2: How do I prevent my grinder from overheating?
- Answer: Avoid overloading the grinder and operate it in short bursts. If the motor feels warm, let it rest before resuming use.
Q3: What’s the best way to grind spices?
- Answer: Use a dedicated dry grinding jar and pulse the grinder to avoid overheating. Lightly toasting the spices beforehand enhances the flavor.
Q4: Is it safe to grind hot ingredients in my grinder?
- Answer: It’s best to allow hot ingredients to cool before grinding. Heat can damage specific components, especially plastic jars, and lead to inconsistent results.
Q5: How often should I replace the blades?
- Answer: Blade replacement depends on the frequency of use and the types of ingredients processed. Generally, replace or sharpen blades every 6–12 months for optimal performance.